-40%
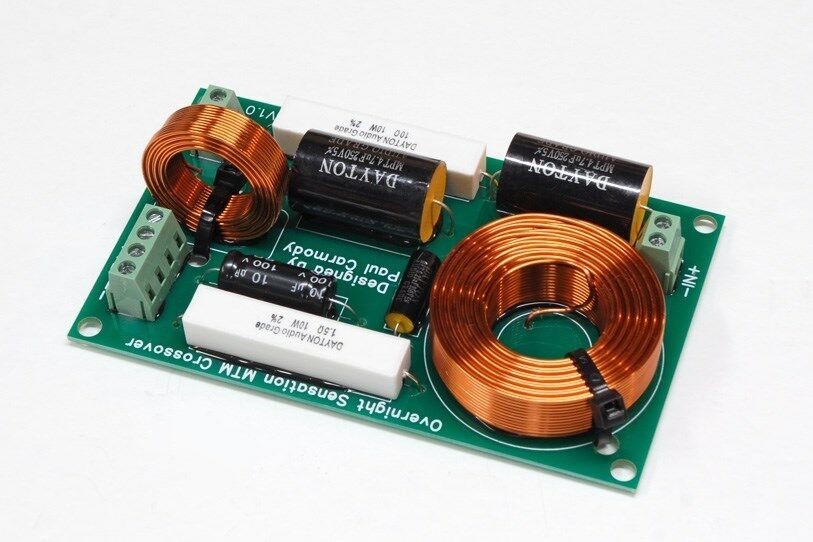
Single Crossover PCB for the Overnight Sensations *MTM* DIY speaker design
$ 5.28
- Description
- Size Guide
Description
Custom printed circuit board designed for the crossover of the Overnight Sensations MTM DIY speaker design by Paul Carmody.Note the MTM design uses two woofers and one tweeter per speaker. See my other listings if you are looking for a PCB kit for the regular Overnight Sensations speaker design (Single woofer and tweeter).
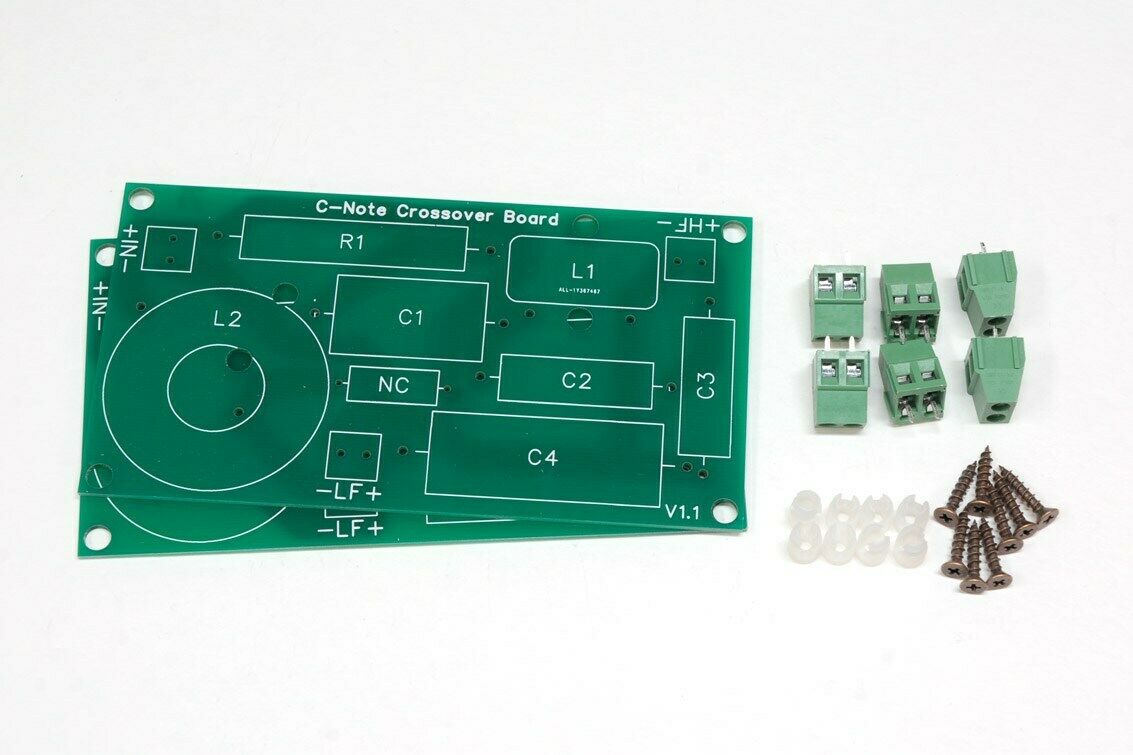
The board measures 3" x 5" and feature large solder pads and copper traces for great electrical connectivity
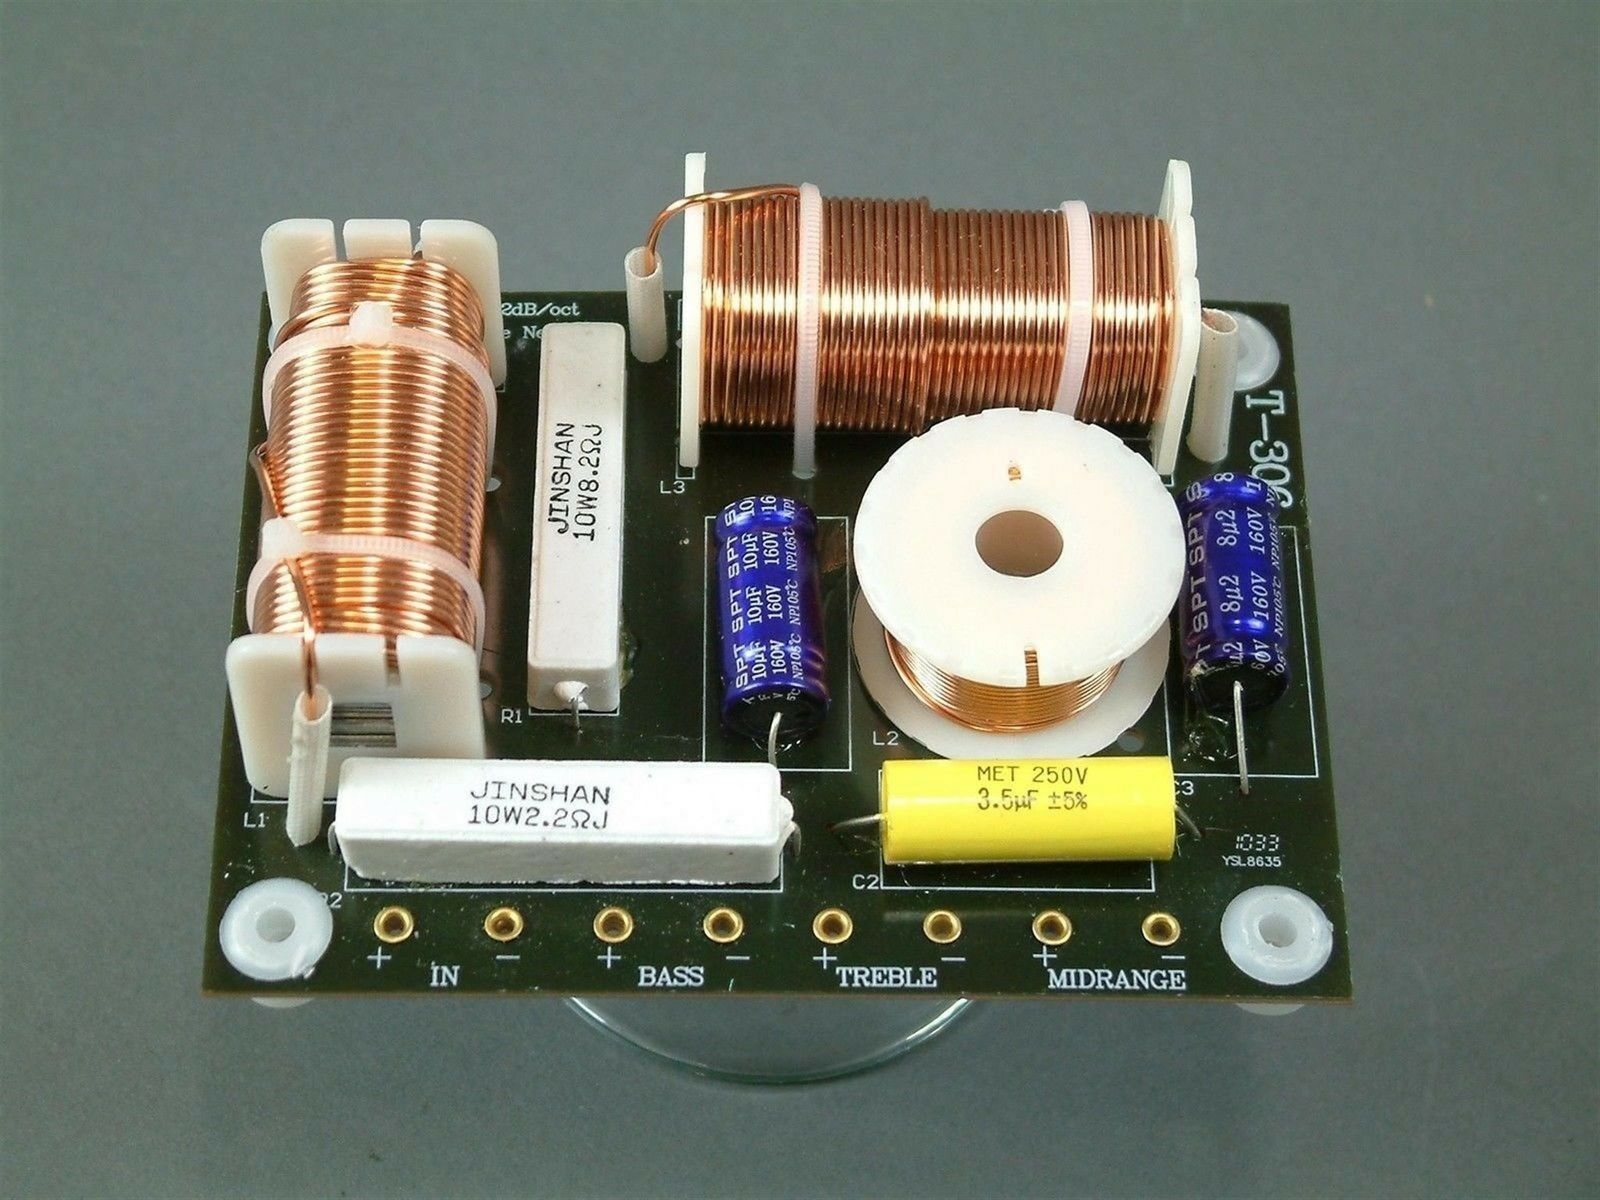
Note photos of fully assembled crossovers are for reference only.
This listing is for a single crossover circuit board. Useful if building a single OS MTM speaker as a center channel. See my other listings if you require a pair of boards.
Includes:
1x Crossover PCB for the Overnight Sensations MTM speaker design.
4x Terminal blocks which accept up to 12 gauge wire.
4x Snap in PCB standoffs.
4x Mounting screws (screw finish may vary).
Requires:
Crossover components for the Overnight Sensations MTM speaker design.
Compatible components tested for fit on this PCB:
C1 & C2 - 4.7uF - Dayton Audio DMPC-4.7
C3 - 0.22uF - Dayton Audio DMPC-0.22
C4 - 10uF - Parts Express 10uF 100V Electrolytic Non-Polarized Crossover Capacitor
L1 - 0.15mH - Jantzen Audio 0.15mH 18 AWG Air Core
L2 - 0.90mH - Jantzen Audio 0.90mH 18 AWG Air Core
R1 - 10 Ohm - Dayton Audio DNR-10
R2 - 1.5 Ohm - Dayton Audio DNR-1.5
Assembly:
Glue components to the correct positions on the board (hot melt glue works great). Secure inductors with non metallic cable ties. Solder components leads to the pads on the bottom of the board. Attach wires from input and drivers and mount crossover board.


